6.6kW Solar Panel System Installation Cost Australia Guide
6.6kW Solar Panel System Installation Cost Australia: A Comprehensive Guide
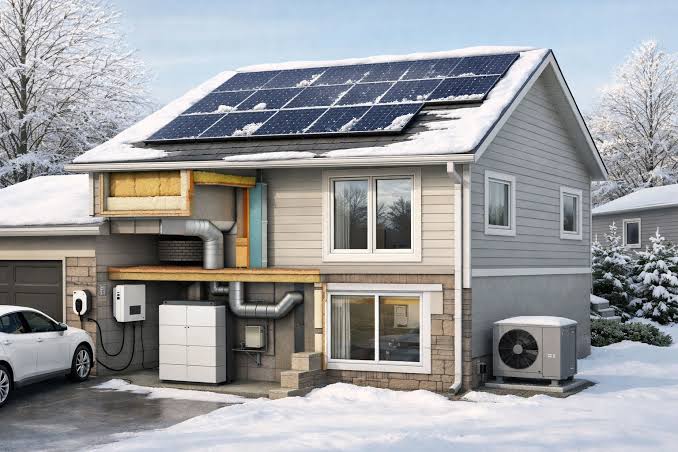
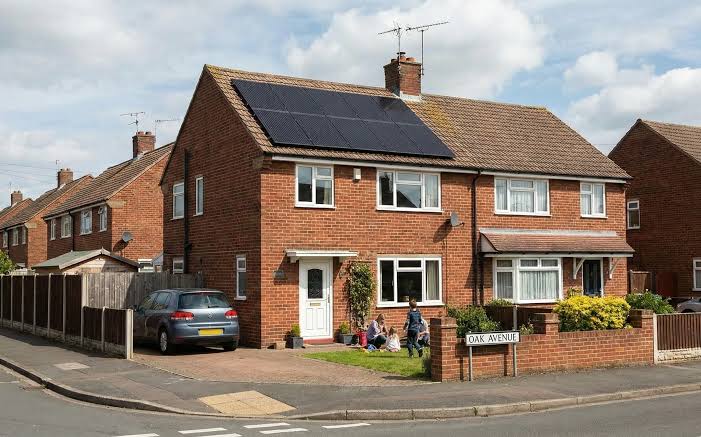
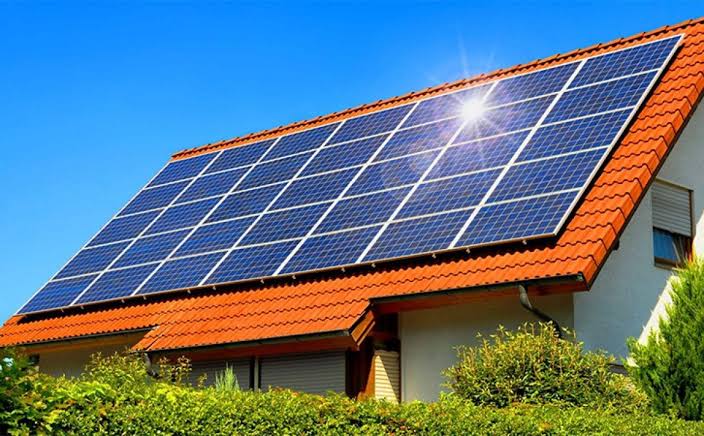
Residential solar infrastructure is one of the most widespread renewable energy investments across Australia. A 6.6-kilowatt (kW) photovoltaic array paired with a 5kW inverter has established itself as the standard entry-level capacity for single-family homes nationwide. Evaluating a 6.6kW solar panel system installation cost Australia project requires analyzing component engineering, federal subsidies, network export limits, and local trade installation fees.
This guide provides a neutral, textbook-quality breakdown of total system outlays, federal Small-scale Technology Certificates (STCs), regional pricing factors, equipment categories, and long-term asset management. Readers will gain a clear understanding of how array oversizing functions under national electrical standards, how to evaluate quotes across different quality tiers, and how to maintain optimal solar yields throughout a system’s multi-decade operational lifespan.
Overview of 6.6kW Solar Panel System Installation Cost Australia
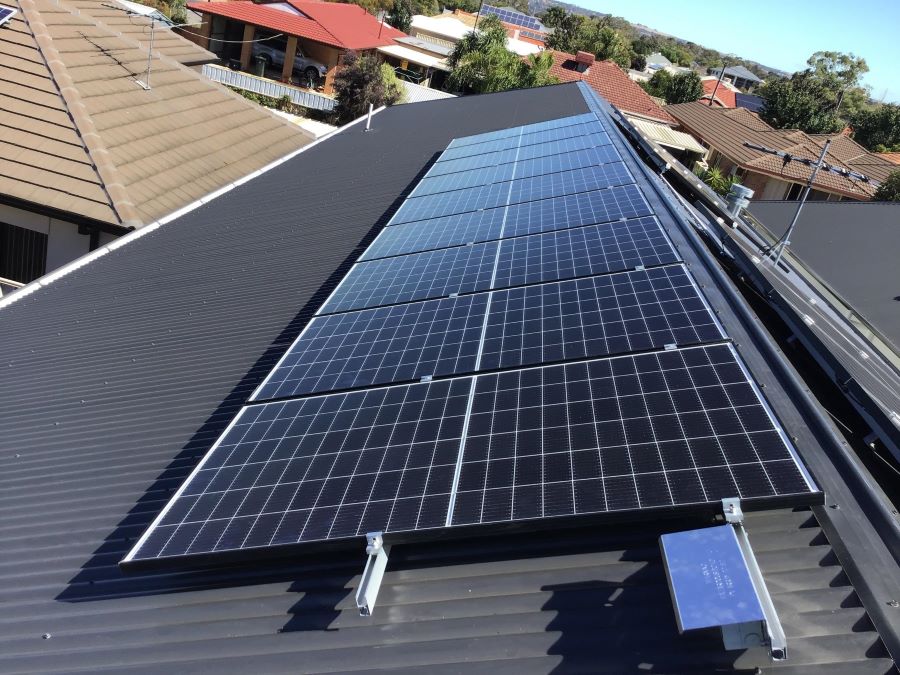
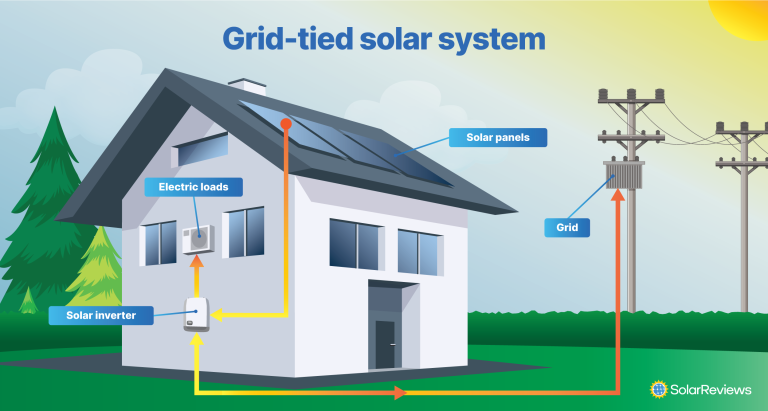
In the Australian energy market, a 6.6kW system typically consists of 14 to 16 solar panels (rated between 415 watts and 470 watts each) connected to a 5kW inverter. This specific sizing ratio exists because of grid connection limits and system design regulations. Electricity distribution networks across Australian states—such as Ausgrid, Endeavour Energy, Energex, SA Power Networks, and Western Power—allow single-phase properties to connect a 5kW inverter under streamlined, pre-approved grid connection rules.
Under Clean Energy Council guidelines (specifically the 133% DC-to-AC oversizing rule), an installer is permitted to place up to 6.6kW of direct current (DC) solar panels on a 5kW alternating current (AC) inverter. Oversizing the panel array by 33% compensates for real-world environmental factors such as ambient heat, seasonal sun angles, and minor roof tilt inefficiencies. This approach allows the 5kW inverter to operate closer to its maximum output for longer periods during morning and late afternoon hours, harvesting 10% to 15% more total daily energy than a matched 5kW panel array would achieve.
Array Design Ratio (The 133% Rule)
├── Panel Capacity (DC Input): 6.6 kW (e.g., 15 x 440W panels)
├── Inverter Rating (AC Output): 5.0 kW (Pre-approved single-phase grid connection)
└── Peak Daily Yield Range: 20 kWh – 28 kWh per day (depending on geographic zone)
The out-of-pocket 6.6kW solar panel system installation cost Australia homeowners pay depends heavily on the federal STC incentive. The Small-scale Renewable Energy Scheme (SRES) creates STCs based on the system size and the geographic installation zone. Installers apply these certificates as an upfront point-of-sale discount on the system quote.
Average out-of-pocket costs for a fully installed, good-quality 6.6kW system generally range from $4,000 to $9,000 AUD after the federal rebate is applied. Entry-level string inverter packages start near the lower end of this range, while premium systems incorporating Tier 1 panels, microinverters, DC power optimizers, or hybrid battery-ready inverters fall toward the higher end.
Key System Categories and Installation Tiers
Selecting a 6.6kW solar system involves choosing an equipment tier that matches household consumption habits, roof geometry, and long-term financial expectations.
| Category / Type | Description | Common Use Case | Time / Cost / Effort Level |
| Budget String Inverter System | Entry-level Tier 1 panels connected in series to a basic single-phase string inverter. | Unshaded, single-plane roofs; rental properties; low upfront capital budgets. | Low Cost ($4,000–$5,200 AUD) / 1-day install / Low management effort. |
| Mid-Tier Quality String System | High-efficiency Tier 1 panels paired with a well-regarded European or Asian string inverter. | Standard unshaded suburban homes seeking a balance of reliability and price. | Moderate Cost ($5,200–$6,800 AUD) / 1-day install / Low management effort. |
| Premium Module-Level Power Electronics (MLPE) | Tier 1 panels paired with microinverters or DC power optimizers on every module. | Roofs subject to partial shading, multiple tilt angles, or complex orientation. | High Cost ($7,000–$9,500 AUD) / 1 to 2-day install / High digital monitoring capability. |
| Hybrid (Battery-Ready) System | Tier 1 panels paired with a hybrid inverter capable of accepting a direct high-voltage battery connection. | Households planning to add energy storage within 1 to 3 years. | Moderate-High Cost ($5,800–$7,800 AUD) / 1-day install / Moderate configuration effort. |
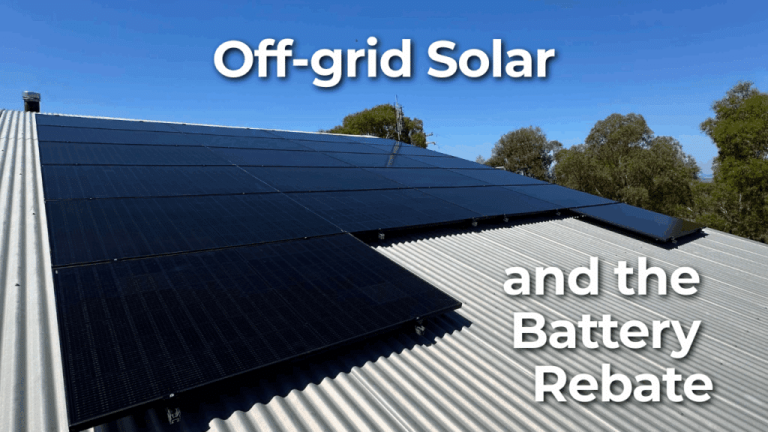
| Off-Grid / Standalone Package | 6.6kW array paired with an off-grid multi-mode inverter, AC-coupling controls, and dedicated battery bank. | Rural properties without grid access or where grid extension fees are cost-prohibitive. | Very High Cost ($15,000–$25,000+ AUD) / Multi-day install / High active management effort. |
Choosing Between Categories
Determining the correct category depends primarily on roof structure and shading. If a roof is flat, faces north or unshaded east/west, and has a single clean plane, a mid-tier string inverter system provides a reliable energy yield at an economical cost. If the roof features multiple azimuths (such as hip or gable designs) or suffers from partial shading caused by trees, chimneys, or neighboring structures, an MLPE system utilizing microinverters or power optimizers prevents shaded panels from bottlenecking the output of the entire array.
Practical Scenarios and Field Applications
Scenario 1: Unshaded Single-Phase Suburban Home in Sydney (NSW)
A single-story brick-veneer home in Western Sydney features an unshaded 22-degree north-facing concrete tile roof and a standard single-phase 230V grid connection.
-
Components & Configuration:
-
15 x 440W Tier 1 monocrystalline panels installed in a single string on the north roof.
-
1 x 5kW single-phase string inverter with integrated DC isolator mounted in a shaded garage location.
-
Smart meter consumption monitor installed in the main switchboard.
-
-
Relevance & Production: Sydney falls within Solar Zone 3, receiving an average of 3.9 to 4.2 peak sun hours per day. The array produces approximately 24 kWh to 26 kWh daily. The unshaded single-plane roof enables the use of a simple string inverter without requiring panel-level optimizers, keeping out-of-pocket costs within the $5,200 to $6,200 AUD range.
Scenario 2: Shaded Multi-Angle Townhouse Roof in Melbourne (VIC)
A two-story townhouse in Melbourne has a multi-pitched colorbond steel roof with partial morning shading from a nearby apartment building.
-
Components & Configuration:
-
16 x 415W panels split across two orientations (8 panels east, 8 panels west).
-
16 x microinverters mounted beneath each individual panel to convert DC to AC directly on the roof.
-
Wall-mounted communications gateway unit for panel-level cloud telemetry.
-
-
Relevance & Production: Melbourne experiences lower winter irradiance (Zone 4) and variable weather, yielding a daily average of 19 kWh to 22 kWh. Using microinverters allows the east-facing panels to generate power in the morning without being dragged down by the shaded west-facing panels, and vice versa in the afternoon. Total out-of-pocket cost falls in the $7,200 to $8,800 AUD range after STCs and applicable state rebates.
Scenario 3: All-Electric Household Prepared for Energy Storage in Brisbane (QLD)
A family home in Brisbane with an electric hot water system, ducted air conditioning, and a swimming pool seeks to maximize self-consumption and prepare for a future home battery.
-
Components & Configuration:
-
15 x 440W panels arranged in two strings (north and west).
-
1 x 5kW hybrid inverter with built-in battery management software.
-
Integrated relay controller to automatically trigger the pool pump and hot water system during peak middle-of-the-day solar generation.
-
-
Relevance & Production: Located in Zone 3/2 boundary conditions, Brisbane receives strong solar radiation, producing 26 kWh to 29 kWh daily from a 6.6kW array. Pairing the array with a hybrid inverter allows the household to direct excess midday energy into heating water and running filtration pumps, while leaving a seamless plug-and-play port to attach a 10kWh to 13.5kWh battery in the future. Installed cost averages $6,000 to $7,500 AUD.
Comparative Scenario Analysis
Scenario 1 relies on ideal geometry to achieve the lowest cost per watt using a basic string inverter. Scenario 2 trades a higher capital outlay for microinverters to solve physical shading obstacles and split orientations, ensuring the system remains viable despite poor environmental conditions. Scenario 3 prioritizes active load control and future-proofing, allocating funds toward a hybrid inverter and smart relays to maximize immediate self-consumption of solar energy.
Planning, Capital Budgeting, and Resource Allocation

Formulating a budget for a 6.6kW solar panel system installation cost Australia project requires separating gross hardware and labor expenses from government incentives and potential switchboard upgrade costs.
| Category | Estimated Amount (AUD) | Explanation | Optimization Tips |
| Gross System Cost (Pre-Rebate) | $8,000 – $12,500 | Total turnkey price for Tier 1 hardware, racking, cabling, and labor. | Compare overall quotes based on component brand warranties, not just total price. |
| Federal STC Subsidy Discount | -$2,800 – -$3,600 | Upfront point-of-sale discount based on system size and geographic zone. | Ensure the installer applies the STC discount directly to the quote line item. |
| Switchboard Upgrade (If Needed) | $800 – $2,200 | Upgrading older ceramic-fuse switchboards to modern circuit breakers/RCDs. | Inspect the home switchboard before requesting quotes to budget for electrical safety compliance. |
| Roof Tilt Racks / Specialist Fixing | $400 – $1,200 | Additional structural framing required for flat roofs or slate tile decks. | If the roof pitch is between 10 and 30 degrees, mount panels flush to avoid tilt-frame surcharges. |
| Smart Meter / Consumption Monitor | $300 – $600 | Switchboard hardware allowing real-time tracking of household power consumption vs. solar export. | Include a consumption meter in the initial contract to monitor self-consumption efficiency. |
| Net Out-of-Pocket Expenditure | $4,000 – $9,000 | Final price paid by the homeowner after all point-of-sale rebates are deducted. | Obtain 3 detailed quotes from Solar Accreditation Australia (SAA) accredited installers. |
Note: Figures listed above represent baseline market estimates across Australian metropolitan areas. Regional freight surcharges, complex multi-story roof access, or hazardous asbestos tile handling will alter final project totals.
Strategies, Tools, and Support Options
Evaluating a residential solar proposal involves using analytical tools and understanding regulatory framework mechanisms.
-
Solar Accreditation Australia (SAA) Installer Accreditation: The independent accreditation body that oversees installer and designer qualifications following the transition from the Clean Energy Council (CEC) operator framework.
-
Advantages: Ensures installers hold valid electrical licenses, carry appropriate insurance, and adhere to Australian Standards (AS/NZS 3000 and AS/NZS 5033).
-
Disadvantages: Accreditation alone does not guarantee superior customer service; consumer research is still necessary.
-
-
Consumption Monitoring Smart Meters: Hardware installed inside the main switchboard that measures both solar production and total household electrical current.
-
Advantages: Provides real-time data showing when power is being drawn from the grid versus exported, allowing residents to adjust appliance usage to match solar production curves.
-
Disadvantages: Adds an extra $300 to $600 to initial system cost if not bundled in the quote.
-
-
Dynamic Export Limit Controls: Advanced inverter control software required by certain network operators (such as SA Power Networks and Energex) that adjusts solar exports dynamically based on real-time grid congestion.
-
Advantages: Allows homeowners to install larger systems in restricted grid zones without facing flat zero-export limits.
-
Disadvantages: Requires compatible smart inverter hardware and an active internet connection at the property.
-
-
Sun Position and Production Estimators: Analytical tools (such as the Sunulator or PVWatts) that calculate monthly kWh output based on historical satellite weather data, roof pitch, and panel azimuth.
-
Advantages: Provides an objective production baseline to verify installer generation claims.
-
Disadvantages: Cannot account for sudden future foliage growth or unexpected local shading obstacles.
-
Safety, Structural Risks, and Common Pitfalls
Installing a 6.6kW solar array involves high-voltage electrical currents and structural roof modifications. Managing risks requires identifying common points of failure during installation and operation.
-
DC Isolator Water Ingress: Roof-mounted DC isolators (switches located next to the panel array) are historically the most frequent point of failure in Australian solar systems. Exposed to extreme UV and driving rain, low-quality isolator enclosures can crack, allow water inside, and cause electrical arcing or fire. Mitigation: Ensure isolators meet current AS/NZS 5033 standards, utilize high-quality weatherproof enclosures, and install protective solar shade covers over the switch.
-
Inadequate Roof Attachment and Flashing: Fastening racking legs through tile or metal roofing without correct flashing or rubber EPDM washers leads to ceiling leaks and timber rafter rot. Mitigation: Verify that the installer uses specialized tile brackets or dektite flashing rather than relying solely on silicone sealant.
-
Severe Midday Inverter Clipping: While oversizing a 6.6kW array on a 5kW inverter is standard practice, placing all 6.6kW of panels on a single unshaded north face can cause excessive thermal throttling during summer middays, wasting potential power generation. Mitigation: Split the array across north and west or east and west orientations to smooth the generation curve across the day.
-
Unaccredited Installers and Forfeited Rebates: Allowing an uncertified subcontractor to complete the physical installation disqualifies the system from receiving federal STCs, leaving the homeowner liable for the full gross cost. Mitigation: Confirm that the lead electrician on site holds current Solar Accreditation Australia (SAA) credentials.
-
Grid Voltage Spikes and Inverter Tripping: In areas with high solar penetration, local neighborhood grid voltage can rise above 253V during peak solar hours. When this occurs, the inverter is legally required under AS/NZS 4777.2 to ramp down or disconnect to protect the grid, halting solar production. Mitigation: Have the electrician test background grid voltage prior to installation and request the distribution network operator to adjust local transformer tap settings if baseline grid voltage is excessively high.
Maintenance, Best Practices, and Long-Term Asset Management
Although solar photovoltaic systems have no moving parts, routine maintenance ensures safety and preserves optimal output over a 25-year operational lifespan.
System Maintenance Checklist
-
Quarterly Visual Checks: Inspect the array from ground level using binoculars or high-resolution cameras to look for cracked glass, bird nesting beneath panels, or loose hanging DC cables.
-
Semi-Annual Monitoring Verification: Review mobile app historical data to verify that daily energy production aligns with seasonal weather expectations. Unexplained drops in daily kWh indicate potential string failure or heavy soiling.
-
Annual Panel Cleaning (If Required): In areas near dusty roads, agricultural zones, or coastal bird roosts, clean panels using demineralized water and a soft non-abrasive brush. Avoid high-pressure washers or harsh detergents that damage anti-reflective glass coatings.
-
Five-Year Professional Electrical Audit: Hire a licensed solar electrician to conduct a comprehensive system inspection. The technician should perform thermal imaging on array junction boxes, test open-circuit voltage ($V_{oc}$) and short-circuit current ($I_{sc}$), check cable insulation resistance, and verify RCD trip times.
-
Tree Canopy Management: Trim back surrounding trees every 2 to 3 years to maintain clear solar access paths during winter low-sun angles.
Documentation, Verification, and Performance Tracking
System documentation protects property value, validates warranty claims, and ensures smooth property transactions when selling a home equipped with solar.
Key System Records
-
Prescribed Electrical Safety Certificate (CES / CCEW): State-specific electrical sign-off issued by the licensed electrician confirming the installation complies with AS/NZS 3000 wiring rules.
-
Array Layout and String Diagram: A single-line wiring schematic showing panel layout, string configurations, inverter connection points, and roof attachment locations.
-
Warranty Statements and Serial Number Logs: Written documentation containing panel serial numbers, string inverter serial numbers, panel linear performance warranties (typically 25 years), inverter product warranties (5 to 10 years), and installer workmanship guarantees (5 to 10 years).
Real-World Verification Examples
-
Example A (Warranty Processing): A home’s daily generation drops by 50% suddenly. By checking the monitoring app, the owner identifies that String 1 has stopped producing. They present the installer with the original single-line diagram and serial log, allowing the technician to replace a failed DC connector under the 10-year workmanship warranty within 48 hours.
-
Example B (Property Conveyancing): During a home sale, a buyer’s building inspector requests proof of electrical safety compliance for the 6.6kW rooftop solar array. The seller provides the official Electrical Safety Certificate and SAA accreditation document, satisfying the conveyancer and preventing delays in settlement.
Summary
A 6.6kW solar array paired with a 5kW inverter remains the benchmark residential system size across Australia due to grid connection rules and federal STC incentives. Average out-of-pocket costs range from $4,000 to $9,000 AUD, depending on panel quality, inverter selection, and installation complexity. By understanding the 133% array oversizing principle, selecting equipment suited to roof shading, employing accredited installers, and conducting periodic electrical audits, Australian homeowners can build a safe, highly efficient solar asset that reduces grid dependence and delivers clean energy for decades.
Frequently Asked Questions
Why is a 6.6kW panel array paired with a 5kW inverter in Australia?
Australian network distributors generally allow single-phase homes to connect a 5kW inverter under pre-approved grid rules. Under Clean Energy Council guidelines, installers can oversize the panel array by up to 133% (6.6kW of panels on a 5kW inverter). This oversizing allows the system to generate more energy during morning and late afternoon shoulder periods without exceeding grid export limits.
How much energy does a 6.6kW solar system produce daily in Australia?
A 6.6kW system produces an average of 20 kWh to 28 kWh of electricity per day, depending on geographic location, tilt, orientation, and seasonal weather. Northern regions (such as Brisbane and Perth) achieve higher annual averages than southern cities (such as Melbourne and Hobart).
How much does a 6.6kW solar system cost out-of-pocket after rebates?
As of 2026, the out-of-pocket cost for a good-quality 6.6kW solar panel system in Australia typically ranges from $4,000 to $9,000 AUD after applying the federal STC point-of-sale discount. Budget string systems sit at the lower end, while premium systems with microinverters or hybrid inverters sit toward the higher end.