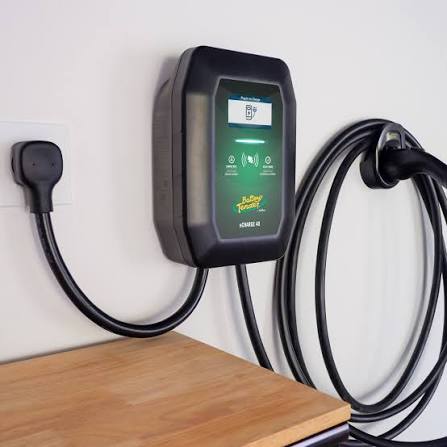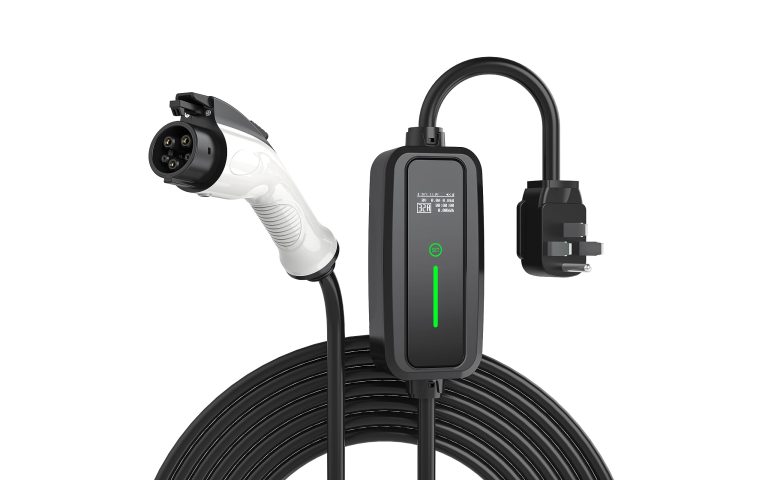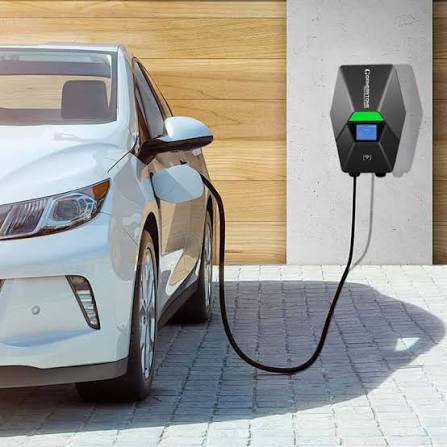
Level 2 Home EV Charger Installation Cost US Homes Guide
Level 2 Home EV Charger Installation Cost US Homes: A Comprehensive Guide
Electric vehicle (EV) adoption across the United States has transitioned home charging infrastructure from a luxury amenity to a foundational residential electrical upgrade. While standard Level 1 charging relies on a conventional 120-volt household wall outlet, its slow replenishment rate of 3 to 5 miles of range per hour is often insufficient for daily commuting needs. Installing a Level 2 electric vehicle supply equipment (EVSE) system utilizes a dedicated 240-volt alternating current (AC) circuit, enabling drivers to add 25 to 50 miles of range per hour and achieve a full charge overnight.
Evaluating the Level 2 home EV charger installation cost US homes market requires looking beyond the price tag of the charging unit itself. A turnkey installation encompasses hardware procurement, electrical panel load calculations, copper wiring and conduit runs, municipal permitting, and licensed electrical labor. This comprehensive educational guide breaks down the primary cost drivers, equipment options, real-world installation scenarios, safety regulations, and financial incentives associated with Level 2 home charging across American residential properties.
Overview of Level 2 Home EV Charger Installation Cost US Homes

Understanding the Level 2 home EV charger installation cost US homes landscape involves analyzing both equipment expenses and electrical labor outlays. Nationwide, most US homeowners spend between $850 and $2,750 for a standard turnkey Level 2 installation, with the national average sitting around $1,600. On the low end, a basic installation where the charger mounts directly adjacent to an updated electrical panel can cost as little as $500 to $900 total. On the high end, complex installations requiring trenching to a detached garage or a full 100-amp to 200-amp electrical panel upgrade can push total expenditures to $3,500 to $5,000 or more.
Typical Cost Breakdown for Level 2 Home EV Charger Installation
├── Charging Unit Hardware (30A–48A EVSE): $350 – $800
├── Electrical Labor & Mounting: $300 – $1,200
├── Wiring, Conduit, Breaker & Hardware Materials: $100 – $500
├── Municipal Permitting & Inspection Fees: $50 – $250
└── Optional Main Panel Upgrade (100A to 200A, if needed): $1,500 – $4,000+
The underlying mechanical and electrical variables driving installation pricing include:
-
Electrical Panel Spare Capacity: A Level 2 EVSE requires a dedicated double-pole circuit breaker, typically rated between 40 and 60 amps. If a home’s main service panel lacks physical breaker space or available electrical capacity, additional electrical work—such as installing a subpanel or upgrading the main panel—is necessary.
-
Distance and Wiring Path: Copper wire (such as 6 AWG or 4 AWG THHN/THWN-2) represents a major material cost. Running wire across finished basements, through attics, or underground to detached garages increases both material expenses and electrical labor hours.
-
Hardwired vs. Plug-In Receptacle: A hardwired charger connects directly to the circuit, enabling higher charging speeds (up to 48 amps on a 60-amp circuit). A plug-in charger connects to a NEMA 14-50 or NEMA 6-50 240-volt outlet, capped at 40 amps charging speed under the National Electrical Code (NEC) continuous load rules.
Key Equipment Types and Installation Approaches
Selecting a Level 2 installation route depends on desired charging speed, panel capacity, portability preferences, and property layout.
| Category / Type | Description | Common Use Case | Time / Cost / Effort Level |
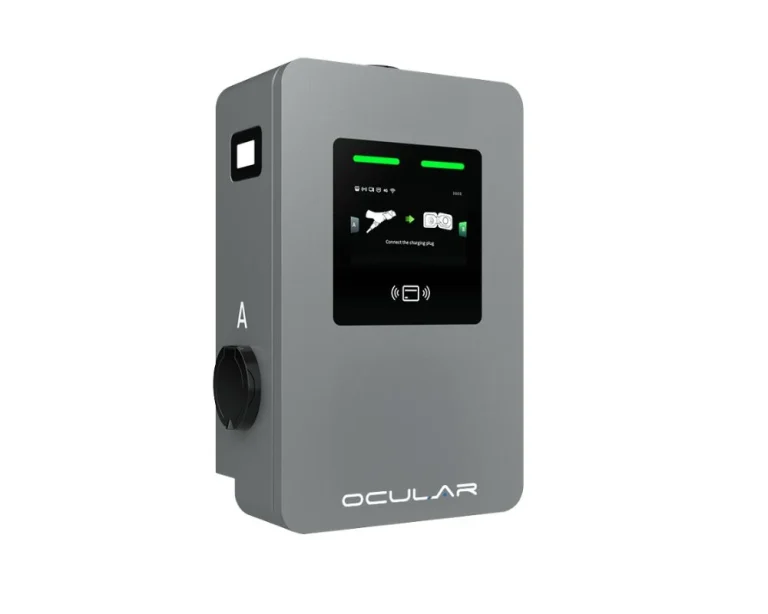
| Plug-In Charger (NEMA 14-50 / 6-50) | Wall-mounted EVSE plugged into a 240V industrial receptacle; maximum 40A charging (50A circuit). | Homeowners wanting portable chargers or simple replacement options. | $350–$700 (hardware) / Low-to-moderate labor / Fast install. |
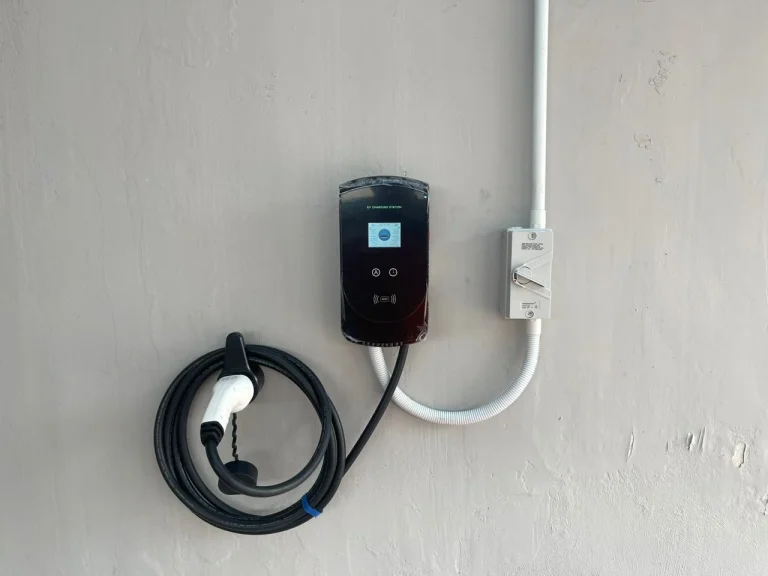
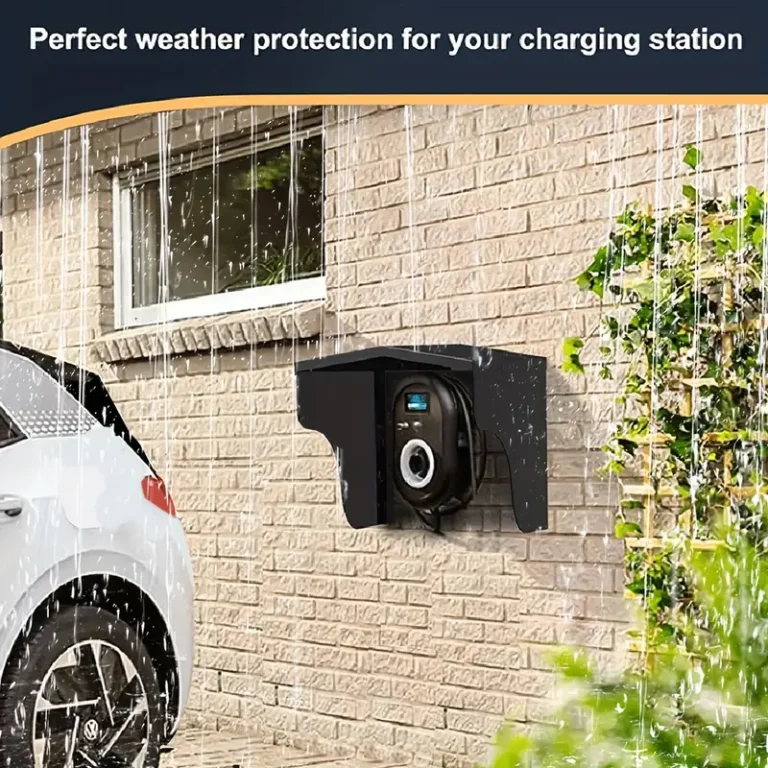
| Hardwired Dedicated Charger | EVSE permanently wired into a dedicated electrical junction box; allows up to 48A charging (60A circuit). | Maximum charging speed, outdoor installations, and long-term durability. | $450–$800 (hardware) / Standard labor / Permanent setup. |
| Smart Splitter (Shared 240V Outlet) | Digital switch that safely shares an existing 240V dryer outlet between appliance and EV without panel upgrades. | Homes with full electrical panels or renters with access to a laundry outlet. | $300–$600 (hardware) / Minimal labor / DIY-friendly setup. |
| Integrated Load Management System | EVSE equipped with digital current transformers (CTs) that pause or throttle charging when household loads spike. | Homes with 100-amp main panels that cannot support a continuous 40A/50A circuit. | $700–$1,200 (hardware) / Moderate-high labor / Advanced configuration. |
| Solar-Integrated Smart EVSE | Charger communicating with rooftop solar inverters to route excess solar generation directly into the vehicle battery. | Homes with existing or planned rooftop solar arrays seeking zero-emission charging. | $600–$1,100 (hardware) / Specialist labor / High software setup. |
Choosing Between Options
Deciding among these approaches involves evaluating electrical panel capacity and long-term charging goals. If an existing 200-amp panel has ample physical space and amperage capacity near the parking spot, a hardwired 48-amp charger delivers maximum charging speed and weather resistance. If the panel is located far from the garage or operates at a 100-amp limit, installing a 32-amp or 40-amp unit—or deploying a smart load management device—avoids thousands of dollars in service panel upgrade costs while still supplying sufficient overnight range replenishment.
Practical Scenarios and Field Applications
Scenario 1: Basic Garage Mount Near Main Panel (Short Wire Run)
A single-family home in suburban Ohio features an updated 200-amp electrical panel located inside an attached two-car garage. The homeowner seeks a reliable Level 2 setup directly adjacent to the panel.
-
Implementation Steps & Components:
-
Performing a manual panel load calculation confirming 50 amps of available capacity.
-
Installing a 50-amp double-pole circuit breaker in the main panel.
-
Running 3 feet of 3/4-inch liquid-tight flexible metallic conduit (LFMC) containing 6 AWG THHN copper wire to a wall-mounted hardwired 40-amp EVSE.
-
Pulling a municipal electrical permit and completing a local building inspection.
-
-
Relevance & Cost Profile: This scenario represents the ideal baseline installation. Minimal copper wiring, zero structural trenching, and ample panel capacity keep total hardware and labor costs between $650 and $1,100.
Scenario 2: Detached Garage with Underground Trenching (Long Wire Run)
A homeowner in Portland, Oregon, parks in a detached garage situated 50 feet away from the main house, where the primary 200-amp electrical panel is located.
-
Implementation Steps & Components:
-
Digging a 18-inch-deep trench (per NEC burial depth codes for PVC conduit) across 50 feet of lawn between the house and garage.
-
Installing 1-inch Schedule 40 PVC underground conduit housing 4 AWG copper conductors to prevent voltage drop over the 70-foot total circuit length.
-
Mounting a 60-amp subpanel inside the detached garage to supply a 48-amp hardwired charger and auxiliary garage lighting.
-
Installing a dedicated grounding rod assembly at the detached structure as required by electrical code.
-
-
Relevance & Cost Profile: Long conduit runs and outdoor excavation significantly increase material costs and labor hours. Total turnkey costs for hardware, heavy-gauge wire, trenching, subpanel equipment, and permitting range from $2,200 to $4,200.
Scenario 3: Older Home with 100-Amp Service Requiring Panel Upgrade
An older home in Atlanta, Georgia, operates on a fully populated 100-amp main breaker panel with no physical space or spare electrical capacity for a continuous 50-amp load.
-
Implementation Steps & Components:
-
Coordinating with the local electric utility to disconnect service and upgrade the exterior service drop mast and meter base.
-
Replacing the interior 100-amp panel with a modern 200-amp main breaker panel equipped with surge protection.
-
Running a new 60-amp dedicated circuit to a hardwired 48-amp Level 2 EVSE mounted on the garage wall.
-
Completing municipal electrical inspection and utility service re-energization.
-
-
Relevance & Cost Profile: Upgrading the underlying home electrical service is the primary expense driver in older housing stock. While the EVSE hardware and short wire run cost ~$1,000, the main panel upgrade adds $2,000 to $4,000, bringing total project outlays to $3,000 to $5,200.
Comparative Analysis of Scenarios
Scenario 1 demonstrates the most cost-effective path, leveraging existing panel capacity and short wire runs. Scenario 2 highlights how physical distance and civil excavation increase costs even when electrical capacity is sufficient. Scenario 3 illustrates how service panel constraints require foundational home infrastructure investments, which increase upfront costs but future-proof the home for additional electrification needs (such as heat pumps or solar storage).
Planning, Capital Budgeting, and Resource Allocation
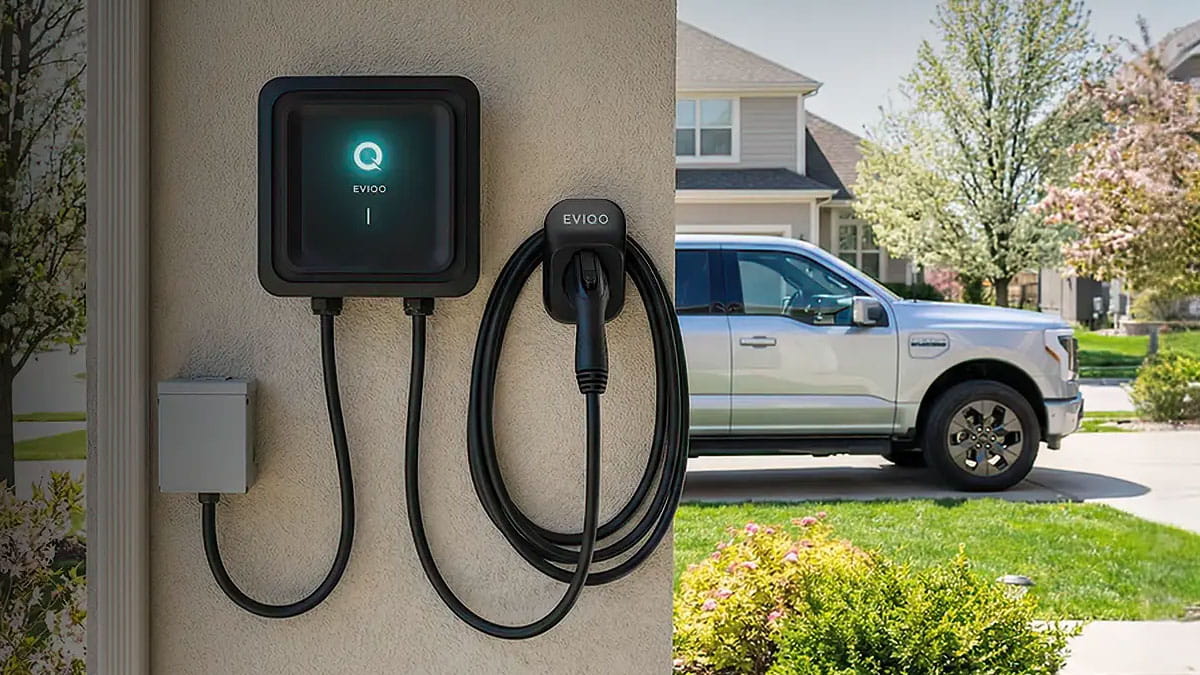
Estimating the Level 2 home EV charger installation cost US homes budget requires itemizing hardware supplies, electrical trade labor, permitting fees, and potential utility upgrades. The table below provides a representative cost breakdown for a standard 40A/50A installation without a main panel upgrade.
| Cost Category | Typical Estimated Amount | Line-Item Explanation & Expense Drivers | Optimization Tips |
| EVSE Hardware Unit | $350 – $800 | Level 2 charger (32A–48A rating); smart Wi-Fi features vs. basic plug. | Choose UL-listed smart chargers eligible for local utility rebates. |
| Licensed Electrical Labor | $300 – $1,200 | Electrician labor for mounting, conduit bending, wiring, and testing. | Mount the charger as close to the main electrical panel as practical. |
| Circuit Wire & Conduit | $100 – $500 | 6 AWG / 4 AWG copper wire, PVC/EMT conduit, junction boxes, and breaker. | Use hardwired connections to eliminate $50–$100 industrial outlet costs. |
| Permits & Building Inspection | $50 – $250 | Municipal electrical permit and formal inspector sign-off. | Ensure the electrician bundles permitting fees directly into the initial contract. |
| Optional Subpanel / Splitter | $300 – $900 | Installed when main panel breaker slots are full but power capacity exists. | Consider a smart splitter if an existing 240V dryer outlet is nearby. |
| Optional Service Panel Upgrade | $1,500 – $4,000+ | Upgrading 100A service to 200A service when main capacity is exceeded. | Request a formal load calculation before committing to a full panel replacement. |
| Gross Total Installed Cost | $800 – $2,750 | Turnkey cost range for standard homes (excluding panel upgrades). | Combine federal 30C tax credits with state and local utility rebates. |
Note: The figures presented above represent general national estimates across the US market. Actual line-item costs vary based on regional electrician hourly rates, local permit schedules, copper commodity pricing, and specific home layouts.
Strategies, Tools, and Support Options
Evaluating a home EV charging project involves understanding regulatory incentives, load management tools, and professional electrical support services.
Incentive Stacking Strategy for Home EV Charger Installation
├── Federal Tax Credit (Section 30C): 30% of hardware & install costs (up to $1,000 in eligible tracts)
├── State / Regional Clean Energy Grants: Direct rebates ($200 – $1,000 depending on state)
├── Local Electric Utility Rebates: On-bill credits or hardware discounts ($250 – $1,500)
└── Net Out-of-Pocket Customer Expenditure: Significantly reduced overall capital outlay
-
Federal Alternative Fuel Refueling Infrastructure Credit (Section 30C): A federal tax incentive covering 30% of the cost of qualified EV charging hardware and installation labor (up to $1,000) for properties located in eligible low-income or non-urban census tracts.
-
Advantages: Direct dollar-for-dollar reduction in federal income tax liability.
-
Disadvantages: Restricted to specific geographic census tracts defined by federal policy guidelines.
-
-
Local Electric Utility Rebate Programs: Many municipal utilities and investor-owned utilities offer direct rebates for installing ENERGY STAR-certified or smart Level 2 chargers.
-
Advantages: Provides immediate cash back ($250 to $1,500) or discounted off-peak charging electricity rates.
-
Disadvantages: Often requires enrolling in utility time-of-use (TOU) programs or allowing the utility to throttle charging during peak grid demand events.
-
-
National Electrical Code (NEC) Load Calculations: Standardized calculations (NEC Article 220) performed by electricians to determine a home’s peak historical electrical demand.
-
Advantages: Prevents unnecessary $2,000–$4,000 panel upgrades by scientifically verifying spare capacity.
-
Disadvantages: Requires technical analysis of existing appliance loads and square footage.
-
-
Digital Load Management Systems (Smart Management): Hardware controllers that monitor total household power draw and adjust EVSE charging output dynamically.
-
Advantages: Allows high-speed Level 2 charging on 100-amp panels without risking main breaker trips or requiring panel replacement.
-
Disadvantages: Adds $300 to $600 in specialized equipment costs.
-
Safety Hazards, Technical Risks, and Common Pitfalls
Installing high-voltage continuous electrical loads presents thermal and physical safety risks if proper code standards are not followed.
-
Utilizing Residential-Grade Outlets for Continuous Loads: Installing a low-cost $10 residential-grade NEMA 14-50 outlet instead of an industrial-grade receptacle (such as Hubbell or Bryant) often results in thermal melting. EV charging draws continuous high current for hours, overheating cheap spring terminals. Mitigation: Specify commercial/industrial-grade receptacles or choose a hardwired installation.
-
Ignoring the NEC 80% Continuous Load Rule: NEC Section 210.20 mandates that continuous loads (loads running continuously for 3+ hours) must not exceed 80% of the circuit breaker’s rating. Setting a charger to draw 40 amps on a 40-amp breaker causes nuisance tripping and wire insulation damage. Mitigation: Match the circuit breaker correctly (e.g., a 50-amp breaker for a 40-amp charger, or a 60-amp breaker for a 48-amp charger).
-
Bypassing Municipal Permitting and Code Inspections: Skipping required municipal electrical permits to save $100 to $200 can void homeowners insurance coverage if an electrical fire occurs. Mitigation: Require the installing electrician to pull an official municipal permit and provide the final inspection sign-off certificate.
-
Undersized Wire Gauges Causing Voltage Drop: Running thin wire across long distances creates electrical resistance, causing excessive heat buildup and lowering voltage at the charger. Mitigation: Upsize copper conductors (e.g., using 4 AWG instead of 6 AWG) for wire runs exceeding 50 feet.
-
Installing Non-Safety-Certified Charging Equipment: Purchasing unbranded, cheap charging cables online that lack Nationally Recognized Testing Laboratory (NRTL) safety marks (such as UL or ETL) creates shock and fire hazards. Mitigation: Purchase EVSE units carrying valid UL or ETL safety certifications.
Maintenance, Best Practices, and Long-Term Management
Level 2 home chargers are solid-state electronic devices that require minimal daily maintenance but benefit from routine safety checks to ensure multi-year reliability.
Preventative Maintenance Checklist
-
Monthly Physical Inspection: Inspect the charging cable along its entire length for cracks, fraying, or flattened insulation. Check the J1772 or NACS plug connector for bent pins, dirt accumulation, or signs of discoloration from heat.
-
Cable Strain Management: Avoid leaving the heavy charging cable lying on the garage floor where it can be driven over. Wrap the cable loosely around the wall holster to prevent internal wire strain.
-
Biannual Thermal Check: During an active charging session, feel the wall receptacle (if using a plug-in unit) and the main breaker panel cover. The components should feel slightly warm to the touch, but never hot. Excessive heat indicates a loose terminal connection.
-
Annual Electrical Terminal Inspection: Have a licensed electrician check terminal screw torque settings inside the hardwired junction box or receptacle during routine home electrical maintenance, as thermal expansion and contraction can loosen connections over time.
-
Firmware and Connectivity Updates: For smart Wi-Fi-connected chargers, ensure automatic firmware updates are enabled to preserve scheduling features, cybersecurity protocols, and utility software integrations.
Performance Documentation and System Verification
Maintaining organized records of your EV charger installation protects home resale value, simplifies insurance verification, and streamlines utility rebate claims.
Essential Project Records
-
Electrical Permit & Final Inspection Certificate: The official sign-off document from the local building department confirming the installation complies with national and local electrical codes.
-
Itemized Electrician Invoice: Detailed documentation listing the breaker size, wire gauge, conduit type, and labor details.
-
Load Calculation Worksheet: Written proof from the electrician demonstrating that the home’s electrical panel safely supports the new EV load under NEC guidelines.
-
Manufacturer Warranty & UL Certification: Product documentation containing charger serial numbers and proof of NRTL safety testing.
Real-World Verification Examples
-
Example A (Utility Rebate Processing): A homeowner in Colorado submits the itemized electrician invoice, municipal permit sign-off, and smart charger serial number to their local utility portal, receiving a $500 direct bill credit within 14 business days.
-
Example B (Home Resale Valuation): During a residential property sale, the buyer’s home inspector notes the 50-amp garage circuit. The seller presents the official electrical permit, load calculation sheet, and hardwired charger warranty, confirming a fully permitted, code-compliant installation that enhances the property’s overall market value.
Closing Summary
Evaluating the Level 2 home EV charger installation cost US homes landscape demonstrates that while basic equipment and simple near-panel installations cost between $850 and $1,600, factors like panel upgrades, long wiring runs, and hardwiring can push total costs higher. By performing an accurate electrical load calculation, selecting UL-listed hardware, hiring licensed electricians, and stacking federal, state, and utility rebates, US homeowners can install safe, high-speed Level 2 charging infrastructure that lowers daily fueling costs and future-proofs their home.
Frequently Asked Questions
What is the average cost to install a Level 2 EV charger at home in the US?
In the US, most homeowners pay between $850 and $2,750 for a complete Level 2 home EV charger installation (including charger hardware, electrical labor, materials, and permits). Simple installations where the charger mounts near an updated panel average $850 to $1,500, while complex jobs requiring long wire runs or electrical panel upgrades can cost $3,000 to $5,000+.
Do I need to upgrade my electrical panel to install a Level 2 EV charger?
Not always. Homes with 200-amp service panels usually have sufficient spare capacity for a dedicated 40A or 50A circuit. However, homes with older 100-amp panels may require a panel upgrade ($1,500–$4,000) or an energy load management device to safely support Level 2 charging without overloading the main service.
What is the difference between a hardwired EV charger and a plug-in EV charger?
A hardwired charger connects directly into an electrical junction box, supporting faster charging speeds (up to 48A on a 60A circuit) and offering better outdoor weather resistance. A plug-in charger connects to a 240V outlet (like a NEMA 14-50), which limits charging speeds to 40A but allows easy removal or replacement of the unit.